Hi, Friends, I hope you've enjoyed sewing stars during July with me! Today we have our fourth and final block of week, Parade. If you'd like to see the previous star block tutorials, click titles below:
July 4 Star
Sparkler Star
Celebration Star
Each star block is 12 1/2" (finishes 12") and can be combined with others or sewn together in repeat to make a quilt of any size you like. For my sample blocks, I have been using a fat quarter bundle of the Daybreak solid colors, which is available, Here. You may follow along using the same fabrics or choose your own favorite color palette.
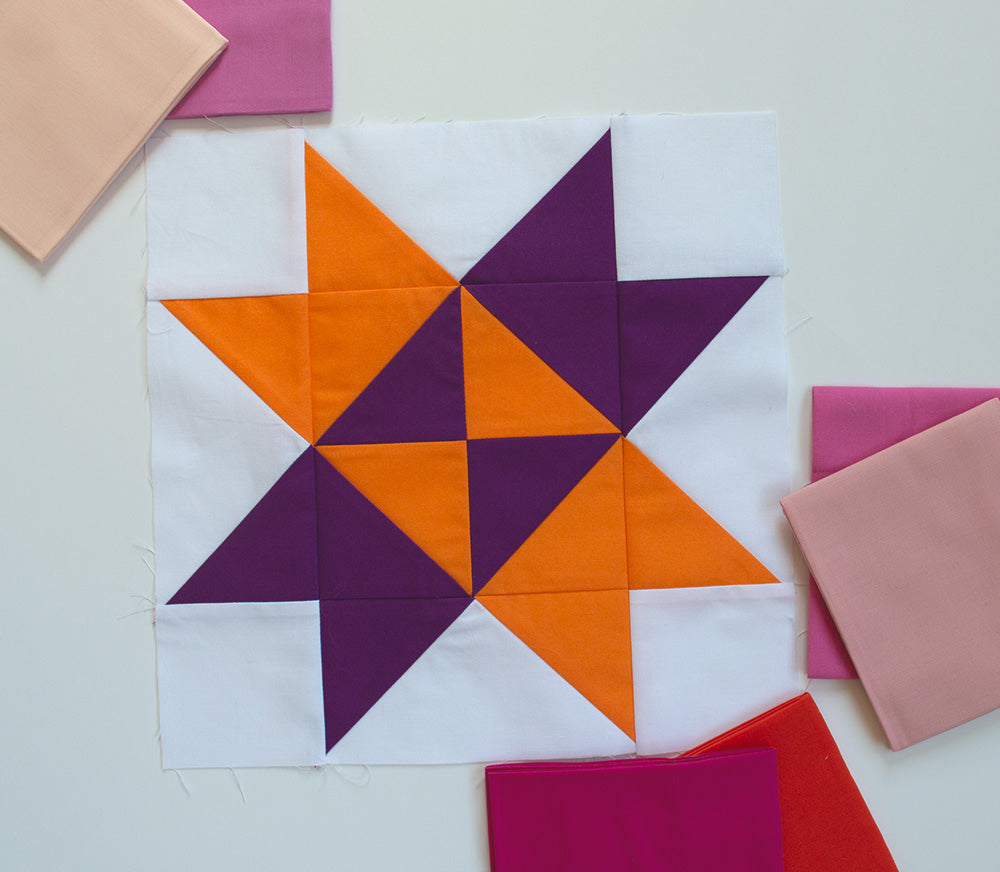
Let's make block #4, Parade:
click here to download a pdf worksheet with instructions and diagrams at a glance
Cutting:
Purple, six squares 4". Cut all of them once on the diagonal to yield 12 half square triangles (HST)
Pink, two squares 4"; one square 5"
White, two squares 4", one square 7 1/4"
Sewing:
1. Cut the 7 1/4" white square twice on the diagonal to yield four quarter square triangles. Place one white triangle on the sewing surface with 90 degree angle at top. Match one 4" purple HST, right side facing the white triangle, so that the long angled edge of the purple aligns with one angled side of the white. See photo below.

2. Sew the pieces together on the angled edge where they align. Press toward purple. Add a second purple triangle in the same way, sewing it to the left side of the white triangle as shown above. Press toward purple.
Use all four white triangles and eight purple HSTs to make four star point units the same way. Trim as needed to 6 1/2" x 3 1/2".
3. Mate each 4" white square, right sides facing, with a pink 4" square. Draw a line from corner to corner diagonally across the back of the white squares. Sew 1/4" on both sides of the marked line.

Cut on the marked line after sewing. Open and press half square triangle squares. Trim as needed to 3 1/2". Make four.
4. Place the 5" pink square on the sewing surface and position one 4" purple HST, right sides facing, so that the long angled edge of the HST aligns with one side of the square. Sew the triangle to the square. Press toward purple.

5. Add purple HSTs to all four sides of the square the same way. Press after each addition. This is center unit of block, trim to square 6 1/2".
6. Arrange the block units starting with center unit made in step 5. Place star point units on all four sides of center with purple triangles adjacent to the purple in the center unit. Add four pink/white HST squares to the corners, oriented with pink corner toward center of block.

7. Sew the HST squares to both ends of two of the star point units. Press toward HST squares.
8. Sew the remaining two star point units to opposite sides of the center unit. Press toward center.
9. Sew the three rows of the block together to finish. Press well.
What do you think? This is a super easy block with lots of personality!
To give you an idea what it might look like in a quilt, I created a digital drawing of them made up in blue and green, all the same, set side by side. I think these would look beautiful in any two color combination for a super simple baby quilt or to show colors of a favorite sports team.

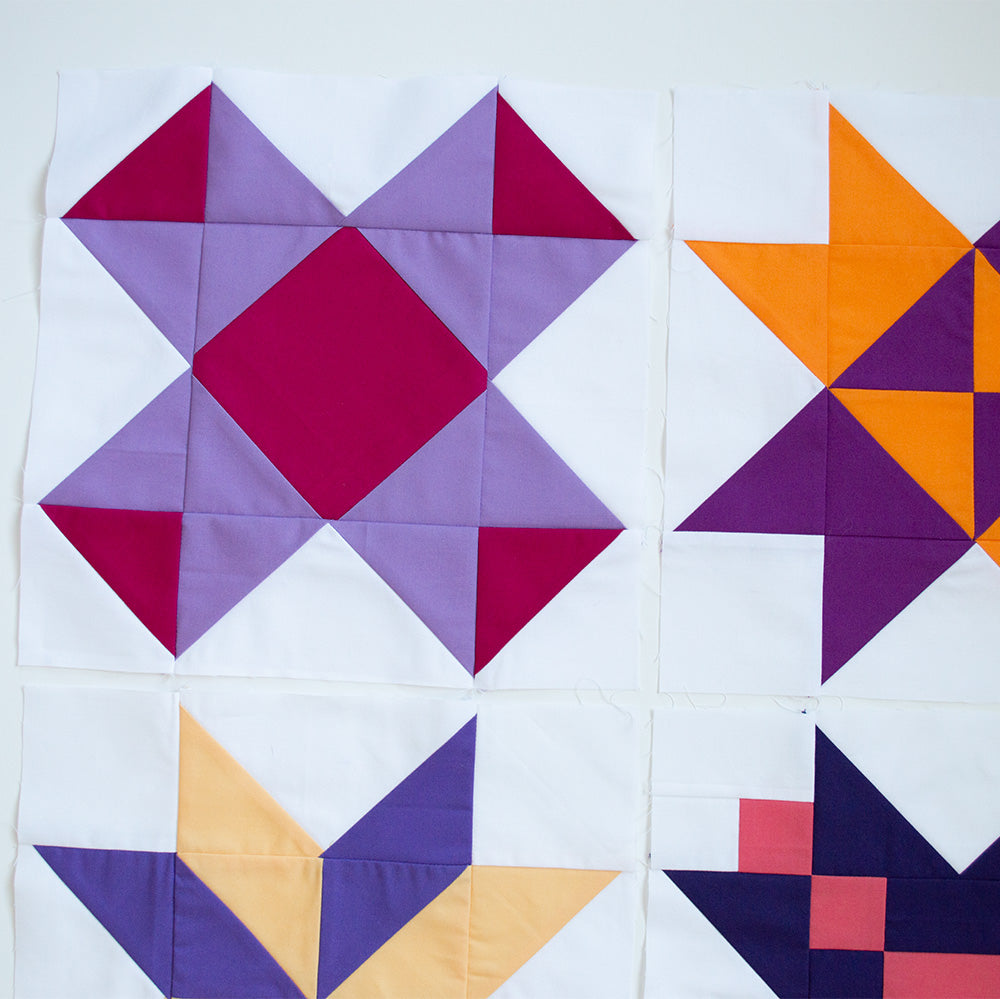
If you are using a bundle of fabric like I did, you could make a bunch of these blocks in different color or print combinations for a cute, scrappy look:

do you have a favorite? how about putting all four of our July blocks together for a sampler mini quilt. So many options!
I hope you've enjoyed sewing along with me this month as we make some classic stars and hone our basic piecing skills.
Happy Stitches,
-Sharon

3 comments
Ella Grace Lawrence
I am looking for some fabric with a wine or burgundy color
Diana Eggleston
Squares are simple but beautiful..
Sandra page
I thought these stars were neat. I am going to make a throw blanket for my patio .. this is when the temperature gets way below what we have had this month. Maybe September or October.
Leave a comment
This site is protected by hCaptcha and the hCaptcha Privacy Policy and Terms of Service apply.