Each week in July we are making a new star block and today is number 3! If you are just tuning in, each weekly blog features a simple star quilt block design using just two colors, plus white. Each one is easy enough for beginners and provide some essential cutting and piecing techniques that will help you build your quilt making skills. Each block measures 12 1/2" square (will finish 12" square when sewn to other blocks in finished quilt).
make week 1 block, July 4, <<here>>
make week 2 block, Sparkler, <<here>>
For my blocks, I am using a FQ bundle of the Daybreak color bundle, available here. You may follow along with me or choose your own color or print palette.
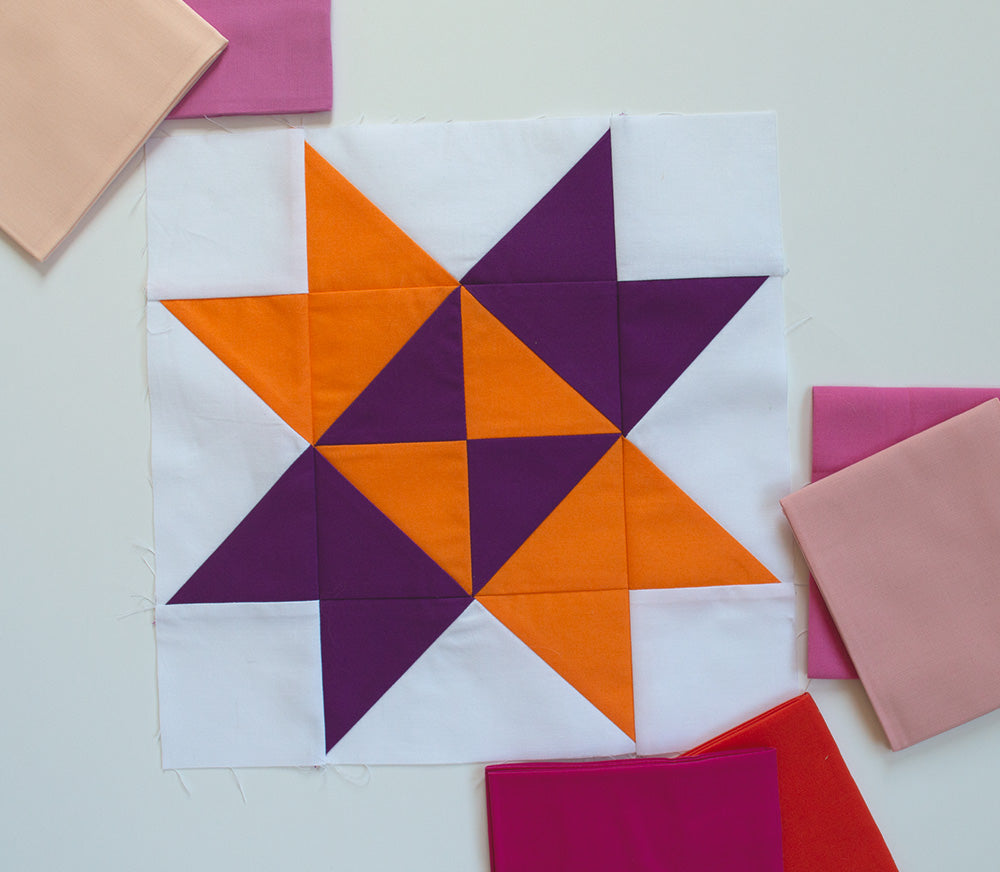
Today, we make Celebration!
Click Here to download pdf worksheet for this block
Cutting,
Purple, cut four squares 4"
Orange, cut four squares 4"
White, cut one square 7 1/4"; four squares 3 1/2"
Sewing,
1. Cut two of the purple and two of the orange 4" square once on the diagonal to yield four half square triangles (HST) from each color.
Cut the white 7 1/4" square twice on the diagonal to yield four quarter square triangles (QST).

2. Start with one of the white QST triangles, place it on the sewing surface and match one orange HST, right sides facing on the left side of the white triangle, so that the angled edges of both triangles align. Sew the angled edge. Press toward the orange triangle.
3. Sew a purple triangle to the other angled edge of the white QST to the right of the orange triangle sewn in step 2. Press toward purple.

Use all four of the white 7 1/4" QST to make star point units with purple and orange. Make two with orange on the left and purple on the right like in steps 2-3, make two units with purple on the left and orange on the right. Trim as needed to 6 1/2" x 3 1/2".
4. Match each remaining orange 4" square with a purple 4" square, right sides facing. Use a pen to mark a line diagonally across the back of the orange square, corner to corner.

5. Sew 1/4" on both sides of the marked line. Cut on the marked line. Press the resulting HST squares. Make four. They should measure 3 1/2" square.
6. Arrange the four HST squares made in step 5 in four-patch layout, alternating the colors so that the orange and purple triangles make an hourglass shape in the center. See photo below, center of block.
Sew the HST squares first in pairs, then sew the pairs together to make the block center unit, 6 1/2" square.

7. Arrange all the block components: place the center unit made in step 6 on the sewing surface. Add star point units to all four sides, noting the position of each so that the orange star points are adjacent to the orange corners of the center square and purple are next to purple as shown above. Add four white 3 1/2" squares to corners.
8. Sew a white 3 1/2" square to both ends of the top and bottom star point units. Press toward white squares.
9. Sew the star point units to the left and right sides of the center unit. Press toward center.
10. Sew the three 'rows' together to finish the quilt block.
Super cute, right?? Love how these look in multiples in these quilt illustrations. Here it is in two colors like the one we sewed,

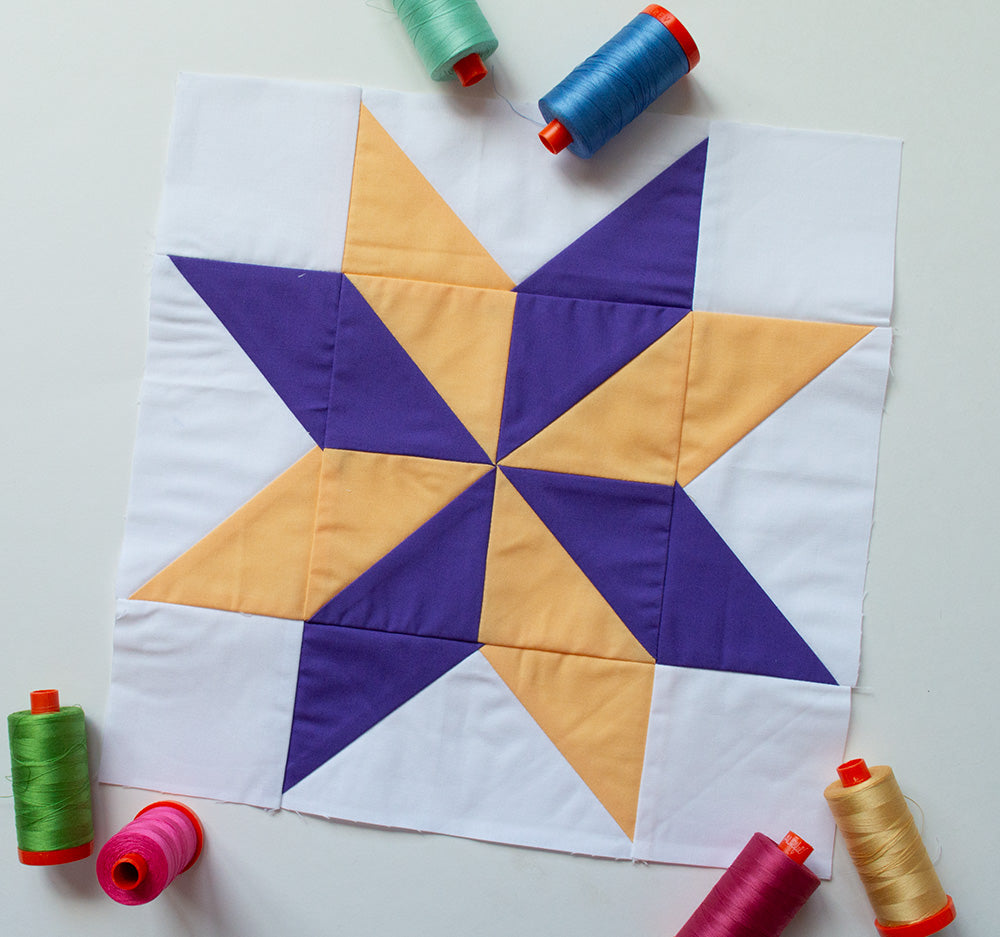
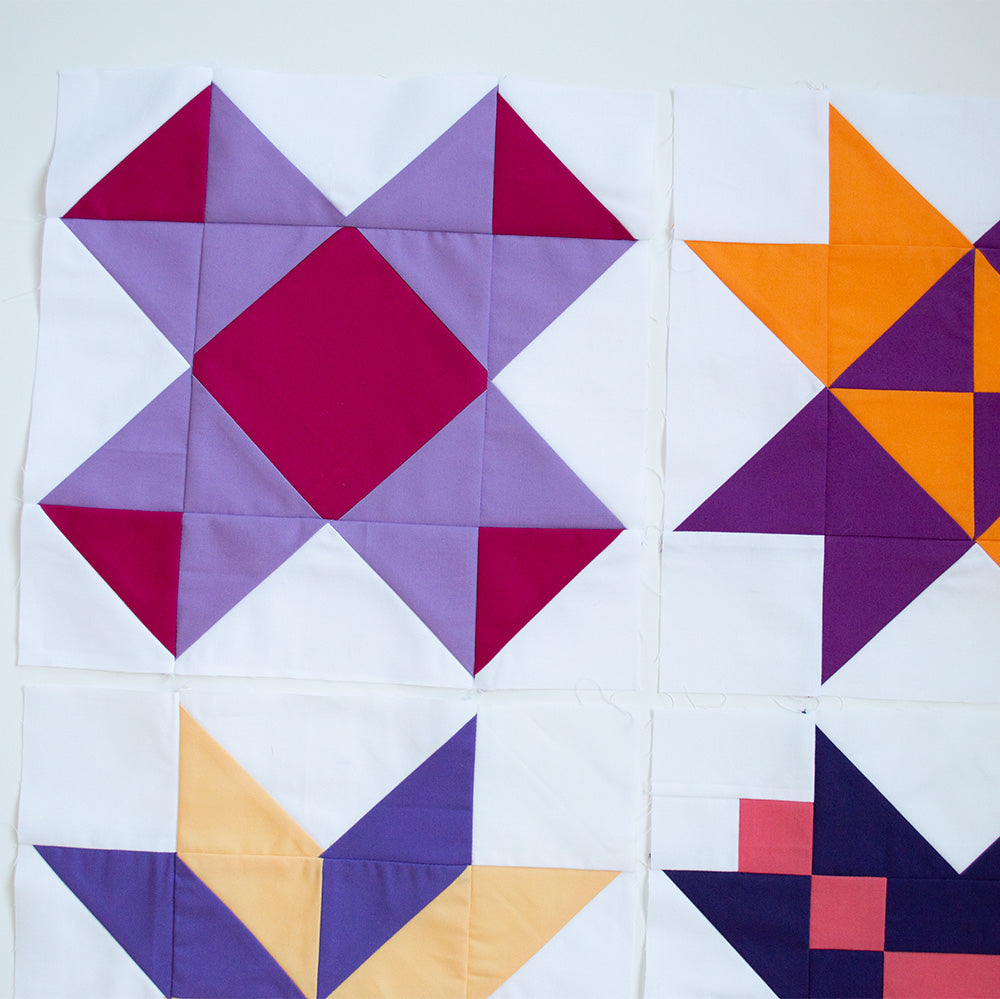
Or, if you are using a FQ bundle like I am, make each star in a different two-color combination for a scrappy, charming look,

Do you have a favorite? Maybe a selection of prints in your stash begging to become a quilt? here's your project!
Enjoy the Celebration,
-Sharon
4 comments
Christine Wolle
Love the star patterns
Dorothy Rainbow
Thanks 🙏 for sharing I love making quilts you have given me more ideas. Cheers
Joie Holcomb
As a pattern designer I felt the urge to write to you because I thoroughly enjoy your posts and reading your blog. I want to thank you for all of the work you put into running what seems to me, a well organized business that is awesome! In creating a pattern there is much more work put into it. It requires hours (sometimes days) to get the instructions written, photos uploaded, etc. and you do it WELL!
If you are curious you can Google me and my patterns will come up. I had to close my shop and my web page last year because I had a bad accident and it took over a year and half for me to recuperate. Still not completely there and even when I am, I’ll never be strong enough to go into business again. If you would like to see some of my quilts just google me and they will pop up. Thank you, my friendly quilter buddy, for your work and dedication. Best Wishes Always!
Joie Holcomb
Former owner of Lamb Creek Farm Quilts & Fabrics. lambcreekfabrics@gmail.com
Jolene
Thanks! Hopefully it turns out well. Thanks again !!
Leave a comment
This site is protected by hCaptcha and the hCaptcha Privacy Policy and Terms of Service apply.