It's December! so many fun things to do and look forward to this month. It feels good to be busy getting goodies ready for friends and family, but don't forget to make some time for fun sewing, too.
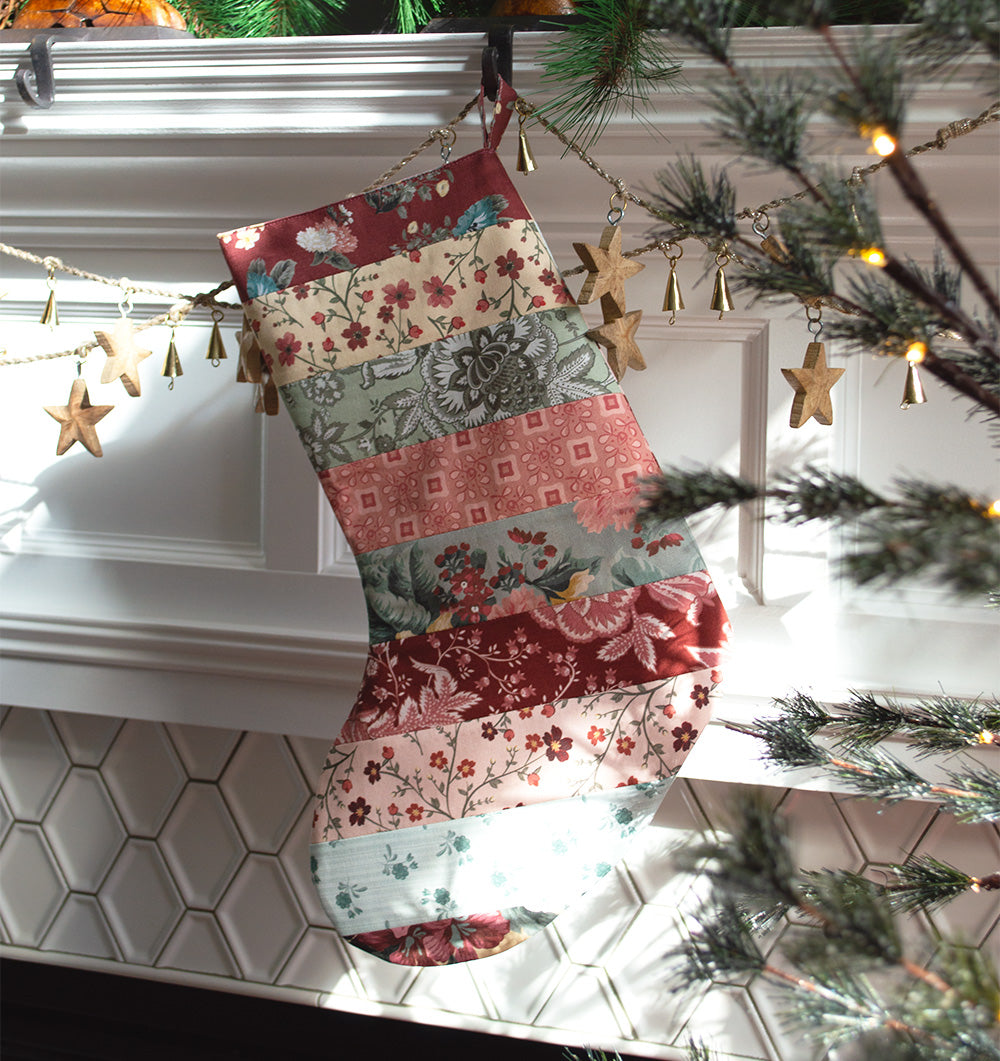
Our cute -and quick!- stocking is the project to get you into the spirit of the season whether you make one for yourself or for gifting, someone will be happy to wake up Christmas morning with it filled with treats.
Let's get started: This post includes instructions to make and cut out all the pieces. Next time I'll show you how to put it all together for the finished stocking.
For my sample, I used strips from a 2 1/2" pre-cut roll of pretty prints. You can do the same, use one large piece of fabric, or sew scraps in your own design before cutting out the stocking.
What you need:
+ (9) 2 1/2" x 21" strips of fabric (cut full width pre-cut strips in half or cut from fat quarters) for exterior of stocking
+ 2 fat quarters (or 1/2 yard) lining fabric
+ optional: fusible interfacing, batting or foam interfacing, quilting thread, other embellishments for the exterior.
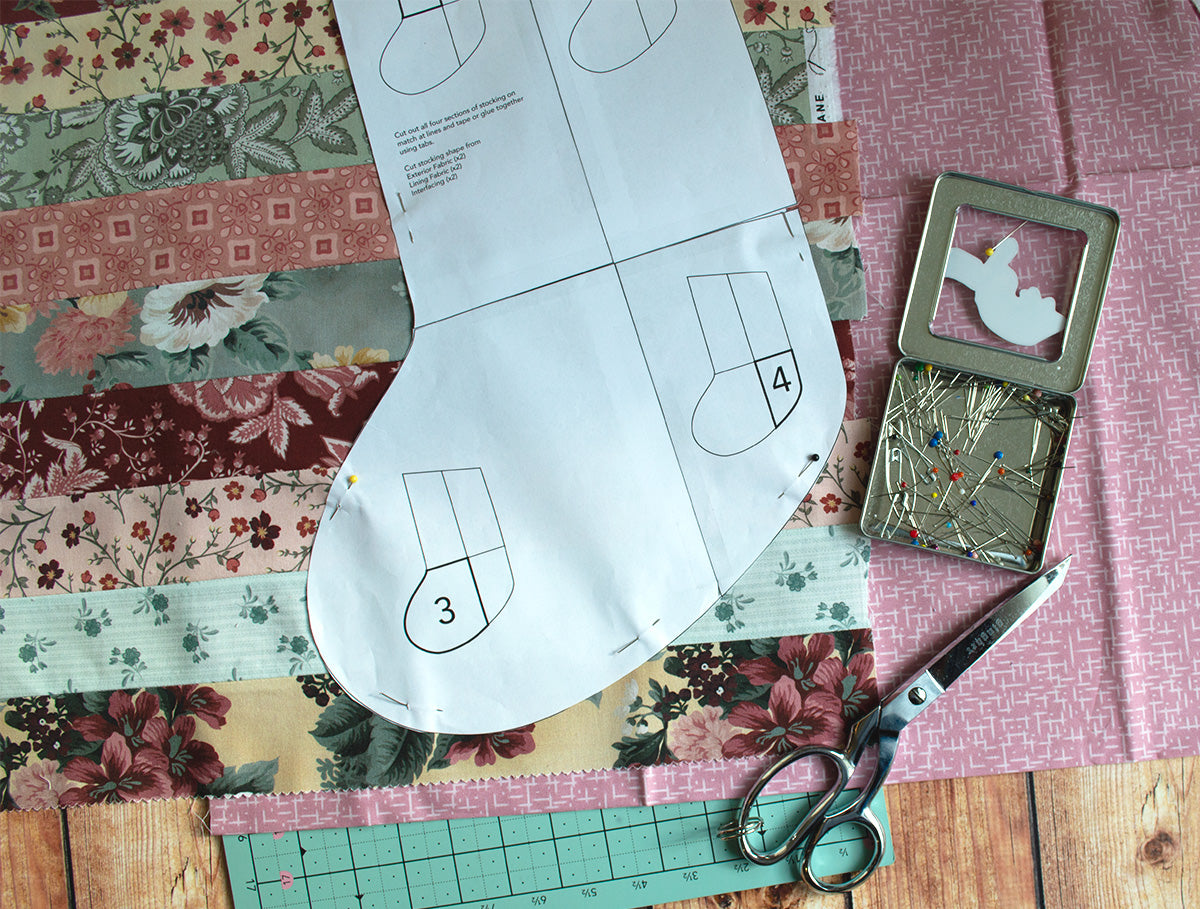
Click Here to download the stocking template. You'll need four sheets of paper to print all the pieces.

Cut out the shapes and use a glue stick or tape to put them together to make the full stocking template. Use the tabs on pieces to overlap the sections and make fixing them together easier.
Sewing
1. Sew the 9 print strips together to make slab approximately 18" x 21". Press seams open between strips.
*options for this step: use unfinished "orphan" quilt blocks, sewn together to make panel for cutting out stocking; use scraps to sew "crazy quilt" style panel; use 5" pre-cut squares to make simple patchwork; use a favorite holiday theme print - no piecing required!*
2. Layer one lining fabric, face up, on work surface. Place second lining fabric, face down, directly on top of first (so right sides of fabric should be facing). Place exterior fabric, face up, on top of the lining fabrics. Smooth the layers.

3. Position the stocking template, print side up, on top of the fabrics, as close to one side of the sewn exterior fabric slab as possible so you can cut a second template from the same piece. Pin all layers: paper template, exterior fabric, and two lining pieces.
4. Use sharp fabric scissors to cut around paper template through all three fabric fabric layers.

Remove pins and separate layers.
5. Reposition the paper template, print side down, on the exterior fabric slab again. Pin and cut around template. This makes a second exterior shape that is mirror image to the first.
If using a single piece of fabric or another method for making the exterior of the stocking make sure you cut one with the template print side up (front of stocking) and the second with template face down (back of stocking).

Isn't this going to be cute?!
Before we put it all together, you have a few options:
+ Press all four stocking shapes (lining and exterior) to fusible interfacing and cut out again. Interfacing will give the fabric some thickness to help stocking hold it's shape nicely and additional strength for when it's all filled with goodies.
+ Add interfacing only to the lining and back pieces. Place a piece of thin batting or foam interfacing behind the front piece and quilt by hand using perl cotton or by machine for added texture and thickness.
+ Make it your own! as mentioned above, you can do something fun any way you like from fancy to simple, traditional or modern. Have fun with it.
Finish sewing your exterior panels and get your pieces cut out (and quilted, if desired). Then we will sew it all together.
Cheers!
-Sharon

4 comments
Lee
Thank you! Hope I can find the time to make a couple of these stockings.
Liz Brooks
I have only done this style as a quilt as you go. I am eager to try this method. Thank you
Chris
Thanks for sharing
Linda Ramage
This is a great lesson; hope I have time to give it a try. Thanks.
Leave a comment
This site is protected by hCaptcha and the hCaptcha Privacy Policy and Terms of Service apply.