So happy you all enjoyed the start of our stocking tutorial! Today, we will get it all finished up and ready to fill with treats for someone you love.
If you missed the first steps to making your stocking, click here to catch up.
At this stage, you have two stocking shaped lining fabrics and two stocking shaped exterior panels.
1. Match the two lining fabrics together, right sides of fabric facing, then do the same for the two exterior panels.

2. Pin as needed to keep the two pieces together and take to the sewing machine. Start sewing on one side of what will be the top opening of the stocking. Sew around the 'toe' and back up to the top opening, finishing on the other side from where you started. Do not sew across the top opening.
Sew the lining set and the exterior set separately using 3/8" seam.
3. Keep the stocking 'inside out' and use iron to press the seam open approximately 1" down the sides from the top opening as shown below. Repeat for the lining piece.

4. With stocking still wrong side out, turn the top edge (the opening) of the stocking over 1/2" and press to make sharp edge. A hot hem ruler is handy for this step!

Repeat for both lining and exterior pieces, making 1/2" turned edge around entire top opening of stocking.
5. Turn the exterior stocking right side out. The 1/2" turned edge made in step 4 should now be inside the stocking. Use your fingers to push the fabric fully out at the seam all the way around inside, making a crisp edge. Press with iron to set the stocking flat around the edges.
6. Cut a piece of fabric for the hanging loop 2 1/2" x 6". Fold in half lengthwise and press to crease down the center. Open and fold the edges in to the center crease and press. Keeping the sides folded inside, fold the whole piece on the center crease again so that raw edges are enclosed inside and you have a fabric strip that is approximately 5/8" x 6". Sew 1/8" from the edge on both sides with thread that matches fabric.
7. Keep the lining unit wrong side out and fit it inside the exterior panel unit. Smooth it all the way down into the toe and against all the sides so it fills the stocking and lays smoothly.

8. Match the top edges of the opening of the lining unit and exterior unit. Use pins to hold the edges aligned for sewing. Fold the hanging loop strip and insert unfinished ends between lining and exterior at the back 'heal' side of the stocking.
9. Use sewing machine and matching thread to top stitch 1/8" around entire opening, sealing the lining and exterior together and catching the hanging loop inside.

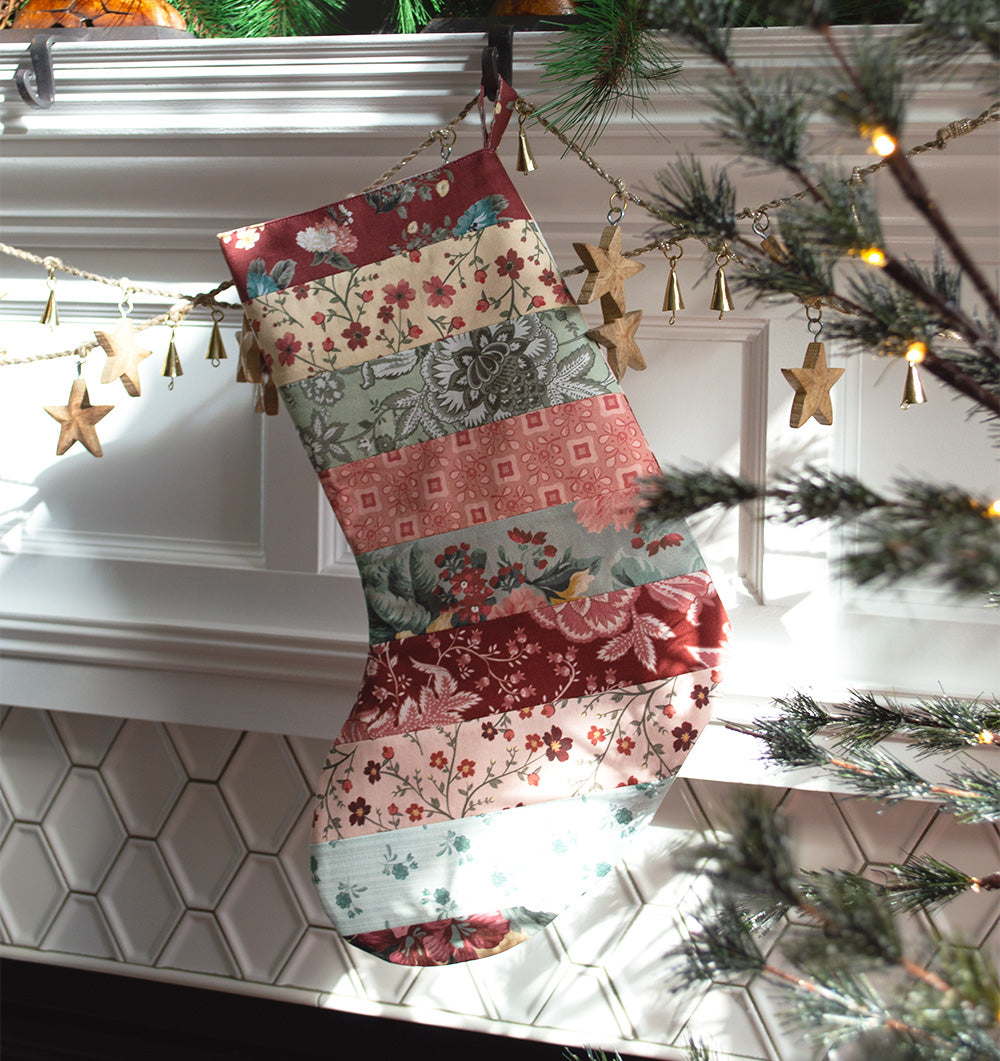
Give your finished stocking another good pressing and shape as needed for a smooth finish and crisp edges.

Enjoy how your pretty stocking adds to your festive home decor!
Hope making this sweet project gets you in the mood for happy holidays. Thank you for joining us here at Love Sew throughout 2023 and sharing your talents with us on the Facebook group and product reviews. We love seeing what you make with True Fabrics and Love Sew patterns and products.
Wishing you all a very happy holiday season and blessed 2024,
-Sharon

1 comment
Jacqueline VanHooser
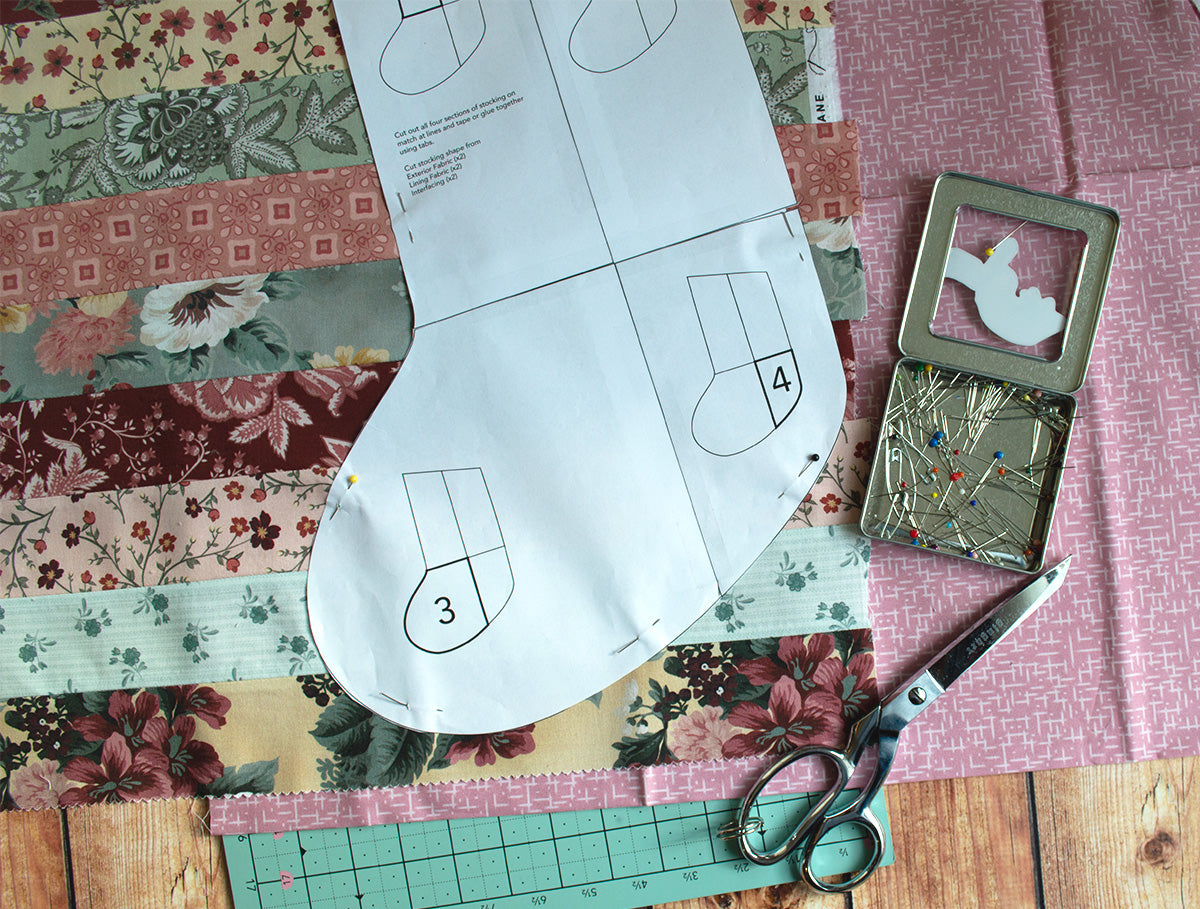
Part 3 of the pattern did not print the bottom portion of the stocking foot, but I can draw that in. Also, how do you print out the directions for the making of the stocking./
Leave a comment
This site is protected by hCaptcha and the hCaptcha Privacy Policy and Terms of Service apply.